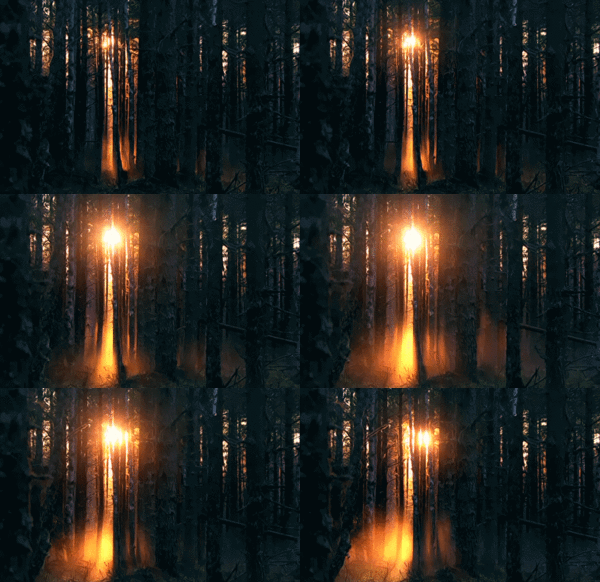

Today's Tip -How to Create a Stop Motion Animation! keep calm and...Give it a try :-)

*Have you ever really stopped for a second just to admire the beauty in everything around you? There are so many beautiful things that surround you- let it all captivate you ;-)
1.Choose your camera. Using Stop Motion Software
2.Install stop motion software. You can install this on just about any device, although laptops and mobile devices are the easiest to transport around your film set. Many stop motion programs have a free trial period, so you can try them out before you buy. Read the terms first, as the trial may restrict your options, or cover your images with a watermark. Here are a few suggestions:
For Mac: iStopMotion, Boinx, Dragon Frame
For Windows: I Can Animate 2 iKITMovie, or Stop Motion Pro. Windows Movie Maker is an option , but it may already be on your computer.
For iPhone or iPad: Frameographer, Stopmotion Cafe
For Android devices: Clayframes, Stopmotion Studio
3.Find objects and figures to use in your movie. Some good choices include clay, drawing . Try to Be imaginative ;-)
One second of film can take 18–24 photos,(You can draw on a whiteboard or use a paper instead, changing the drawing with every frame. If you do this, set up a stable stand to hold the drawings, so there's no accidental movement.)
4.Find consistent lighting. You can use any lights, as long as they don't flicker or change in brightness. You may need to block outside light with curtains, if clouds or other moving shadows are causing changes in brightness...
5.Arrange the scene. Set up your first shot in an area without wind or background movement.
6.Begin taking photographs. If you will use 'figures' move the objects bit by bit, by a very small amount each time, and take another photograph after each movement((such as an arm waving back and forth)
7.Check your software. Each time you take a photograph, a frame should appear in your stop motion software. These frames are placed in a row to form a strip of film, usually near the bottom of your screen.(If you make a mistake, just delete the frame you just took and take another photograph)
8.Duplicate frames so the movements happen at a slower pace. If you duplicate a frame, that frame will stay still for a tiny bit longer before moving. As a general rule, stick to one or two copies of each frame.
9.Finish your film. You can now render the project as a video file and show it ... ENJOY!!!!
nice example : Flying, swimming, sometimes falling - Animation , Animation by: Nuith Morales
https://www.youtube.com/watch?v=7wA_FF8pEyU
LIFE AND BEAUTY is this weeks's ,chapter's, main theme. Here is an interview with photographer Robert Adams: Photography, Life, and Beauty.
follow the link : http://www.art21.org/texts/robert-adams/interview-robert-adams-photography-life-and-beauty
Thank you all!

lovely
Great
Very fine! I want to try ... :)
Wonderful! Thank you:))
I am looking forward to doing this! I am really enjoying this course and I find the exercises therapeutic. Can't wait to see what others will do as well. :)
Many thanks!!
Very good explanation and Nice work! :D
It is so great that you are all so excited about it ;-) cannot wait to see your progress ;-)
have a look at 'The wrong -new digital art ' biennale
http://www.homeostasislab.com/
and ' the Mdina Cathedral Contemporary Art Biennale ' , Malta ;-)
http://www.mdinabiennale.org/index.php/42-mdbn-artists/548-angelina-voskopoulou-greece
cheers!
Thank you so much, the explanations are extremely helpful. And anyway: One of the best courses in which I have enrolled. It's fun and I learn a lot. Many greetings from Berlin, Stefan
Hi guys ! I'm really glad to hear that you are all having a good time through this course ;-)
Thought I should share my finished stop motion work!;)
Watch: Life + Beauty
Very nice :-) thank you all :-) have a great day